How to Install Oracle Developer Suite 10g (Oracle Form and Report 10g Installation) in the Windows 7,8 and 10 Step by Step Installation for the Oracle apps EBS Custom From and Report Development.
Step 1: Take the Oracle Developer Suite 10g Software CD/DVD or Setup file.
Then Click on the Setup icon Application.
Step 2: Program is open like this and Failed due to Virtual Memory is LOW.
Step 3: To increase the 'Virtual Memory' Go to the Desktop the Rt. Click on the 'This PC' or 'My Computer' Then go to the >> Properties.
Step 4: Click on the 'Advance system setting '
Step 5: Click on the 'Advance' Tab >> Setting
Step 6: Then Also Click on the 'Advance' tab >> Then click on the 'Change' Button.
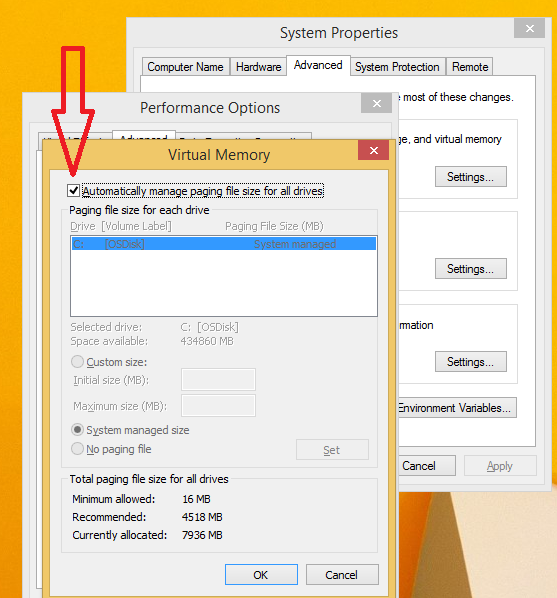
Step 7: Check BOX is enable for Automatically manage.
Step 8: Unchecked the BOX for Custom size set of the Virtual Memory.
Step 9: The go to Oracle Developer Suite 10g Software CD/DVD or Setup file.
Then Click on the Setup icon Application.
Step 10 : Oracle Universal Installer : Welcome is Come. then Click on the Next Button.
Step 11 : Click on the Complete Radio Box for all Oracle Product like 'Oracle Form and Oracle Report' .
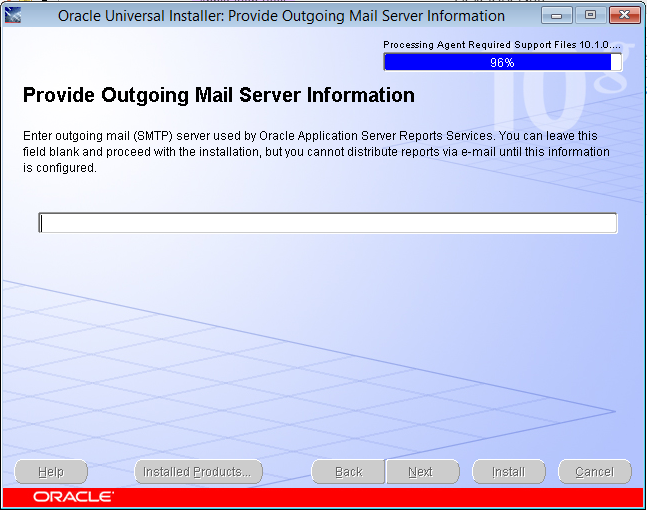
Step 12 : SMTP popup is coming..ignore and click on the Next Button.
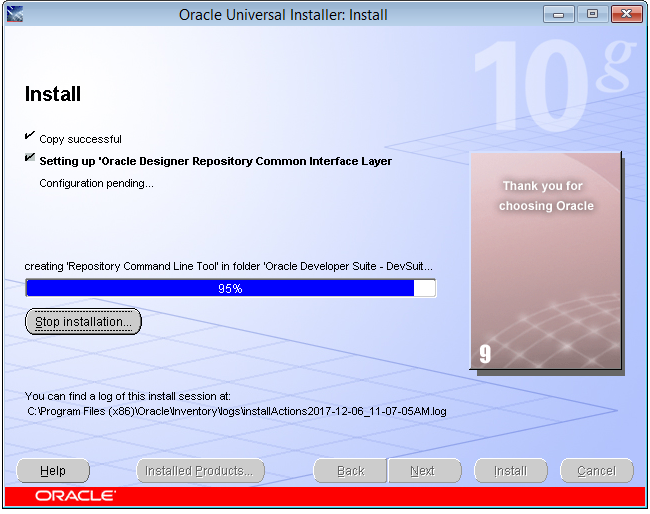
Step 13 : Installation process is running.
Step 15 : Oracle Developer Suite 10g (Oracle Form and Report 10g Installation) is Install in the Windows 7,8 and 10 and Click on the 'Exit' Button.